Help with SSAU network connection problems with Microsoft Windows 7 devices
Try to carry out the following actions if you need help with SSAU network connection problems with Microsoft Windows 7 devices:
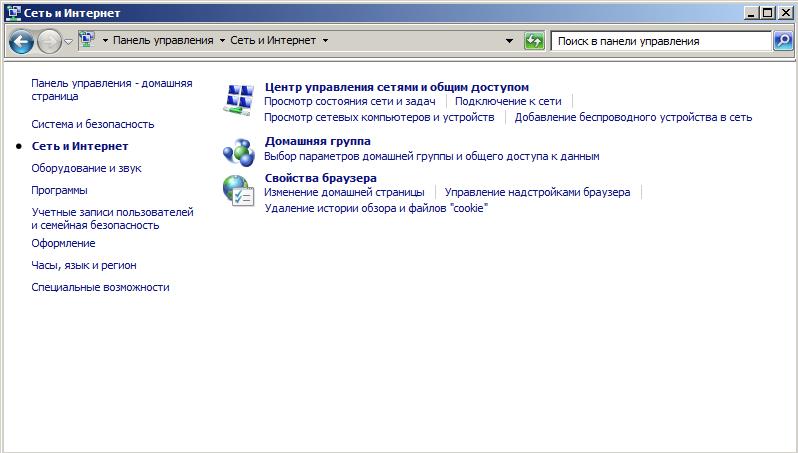
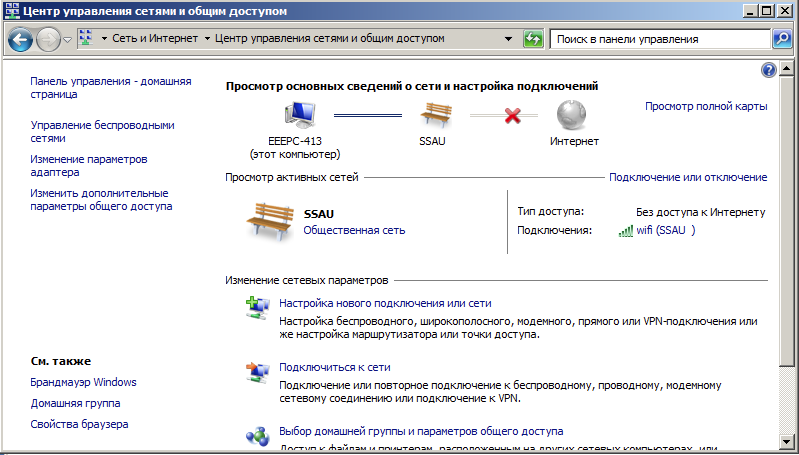
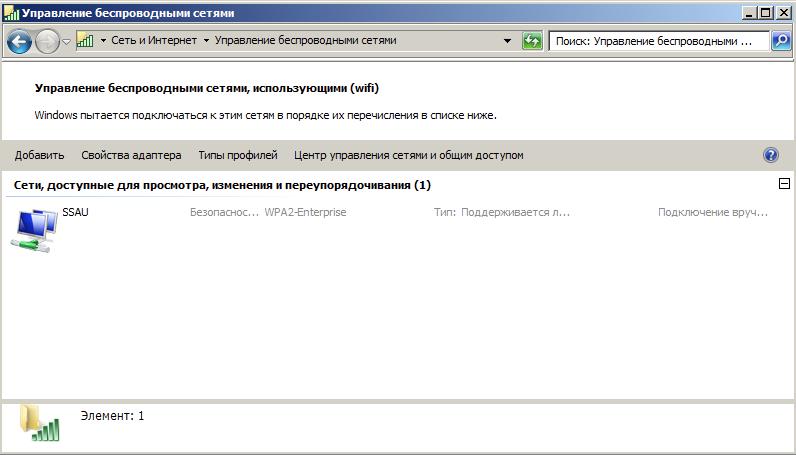
Enter Control panel - Network and Sharing Centre.
Choose Wi-Fi management.
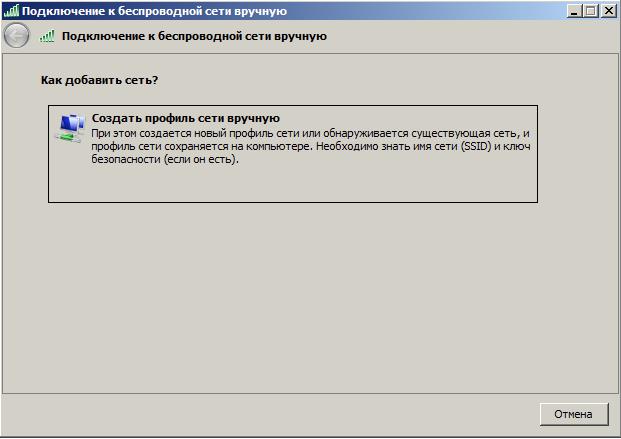
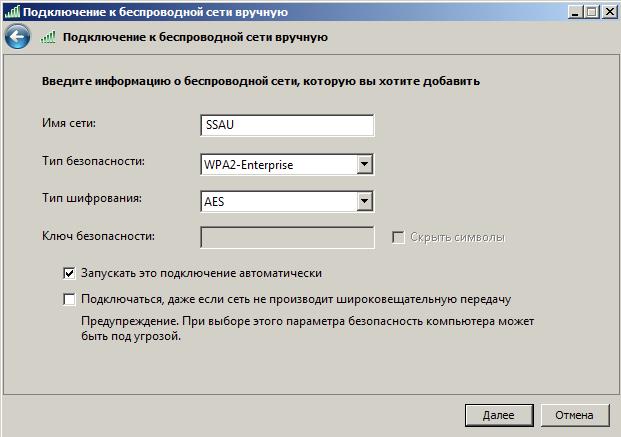
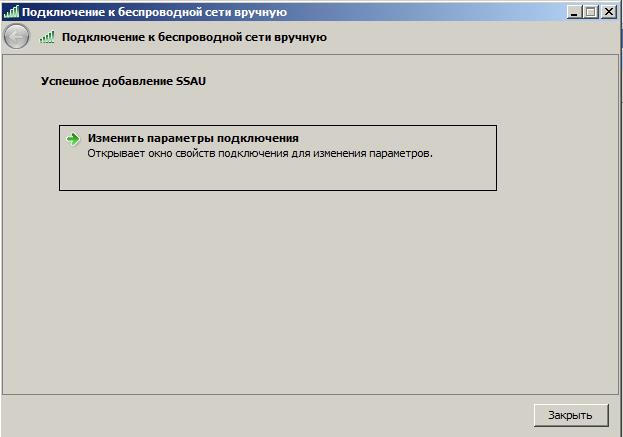
Select Add and create a new network connection entitled SSAU with the parameters indicated in the pictures below.
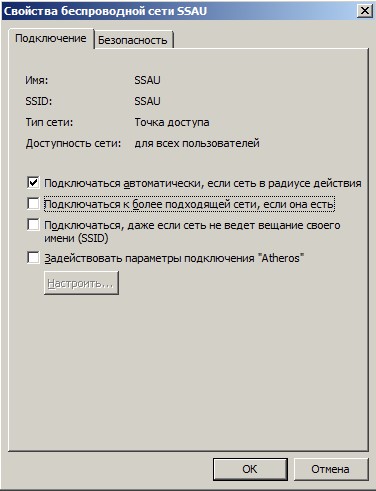
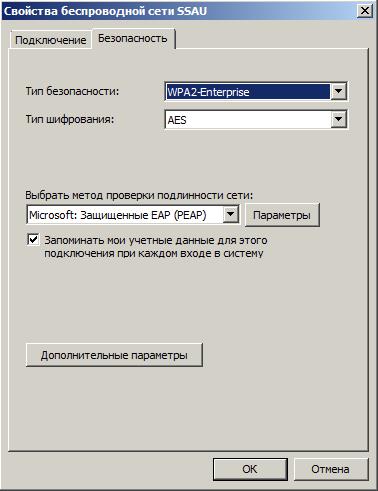
Select Change connection parameters and adjust settings as indicated in the pictures below.
Select button Parameters.
Clear a tick box of parameter Check server certificate.
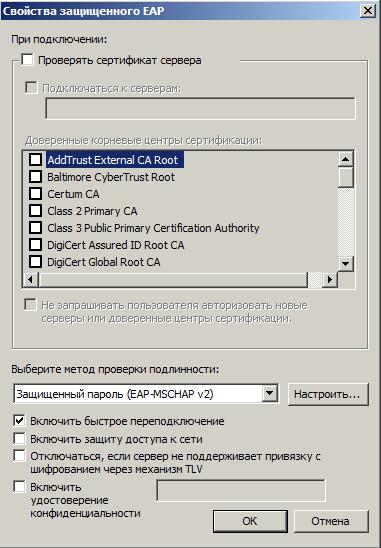
Select button Customize and clear a tick box of the indicated parameter.
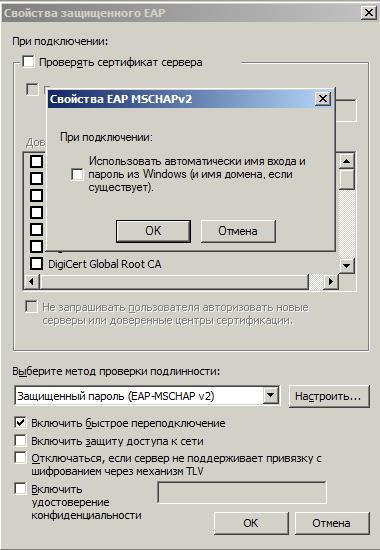
Save changes by selecting OK. Now you may connect to SSAU network as usual.
Enter Control panel - Network and Sharing Centre.
Choose Wi-Fi management.
Select Add and create a new network connection entitled SSAU with the parameters indicated in the pictures below.
Select Change connection parameters and adjust settings as indicated in the pictures below.
Select button Parameters.
Clear a tick box of parameter Check server certificate.
Select button Customize and clear a tick box of the indicated parameter.
Save changes by selecting OK. Now you may connect to SSAU network as usual.